Here’s how to join the Cookie Maze Craze
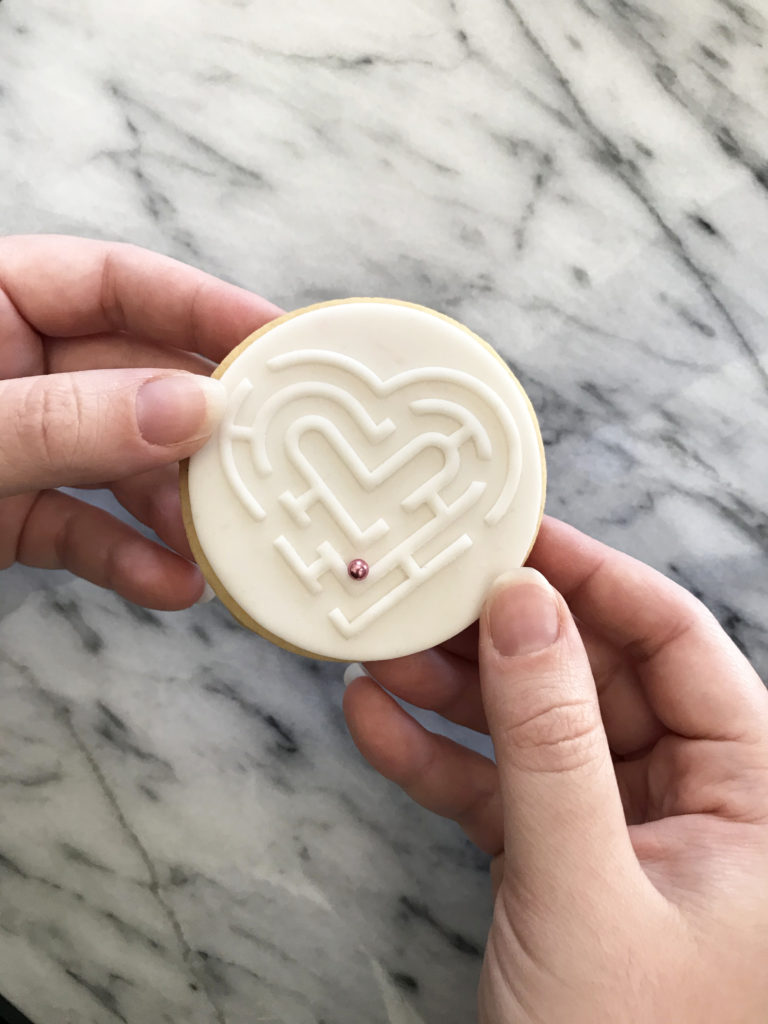
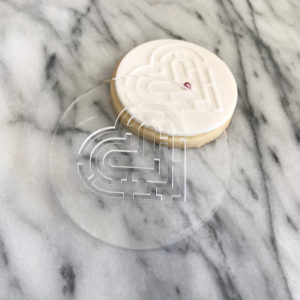
Have you seen maze cookies yet? This trend is popping up everywhere. A cookie decorated with a maze design and, with the addition of a dragée or two, is transformed into a delicious interactive sweet treat that adds an element of fun to all sorts of events like bridal showers, weddings, birthday parties and even corporate functions.
If you have seen them, however, you will know the maze is painstakingly piped. Most are gorgeous but you may have spotted a few so poorly executed there’s no chance a cachou could ever find its way home. So we decided there must be an easier and quicker way!
With Valentine’s Day looming we figured a heart shaped maze was the way to go and it simply had to be a fondant embosser. Designing it was so much fun! A few test cuts and a batch of cookies later, we were pressing fondant every which way but loose to find the easiest way to create consistently great results. After all, no one bakes and decorates just one biscuit so it was important the embosser made decorating a batch of cookies easier than piping.
Listed below is the process we found worked well. By all means, feel free to try other methods. We’re all different and results can vary a little depending on fondant, tools available and even your working environment.
This is our preferred method for using the Heart Maze Fondant Embosser
Before you start – we recommend using an 8cm round cutter to accommodate the heart nicely. Going larger than 9cm will exceed the embosser’s diameter. The surface of your cookies should be smooth for a good finish.
Let's Begin

Step 1
Roll out enough fondant.
We found a thickness of approximately 3mm worked well. If you roll it too thin you won’t have enough depth to give the raised walls of the maze. Rolling it too thick is going to overpower the taste of your beautiful biscuit.
It’s also a good idea to dust your work surface with icing sugar or similar before rolling the fondant so that, when the time comes, you’ll be able to shift the fondant to your biscuit.

Step 2
Dust, dust, dust.
Fondant loves to stick to acrylic if any moisture is present. That’s why our DIY cake toppers work so well! It’s important to liberally dust the back of your embosser as well as your fondant’s surface.
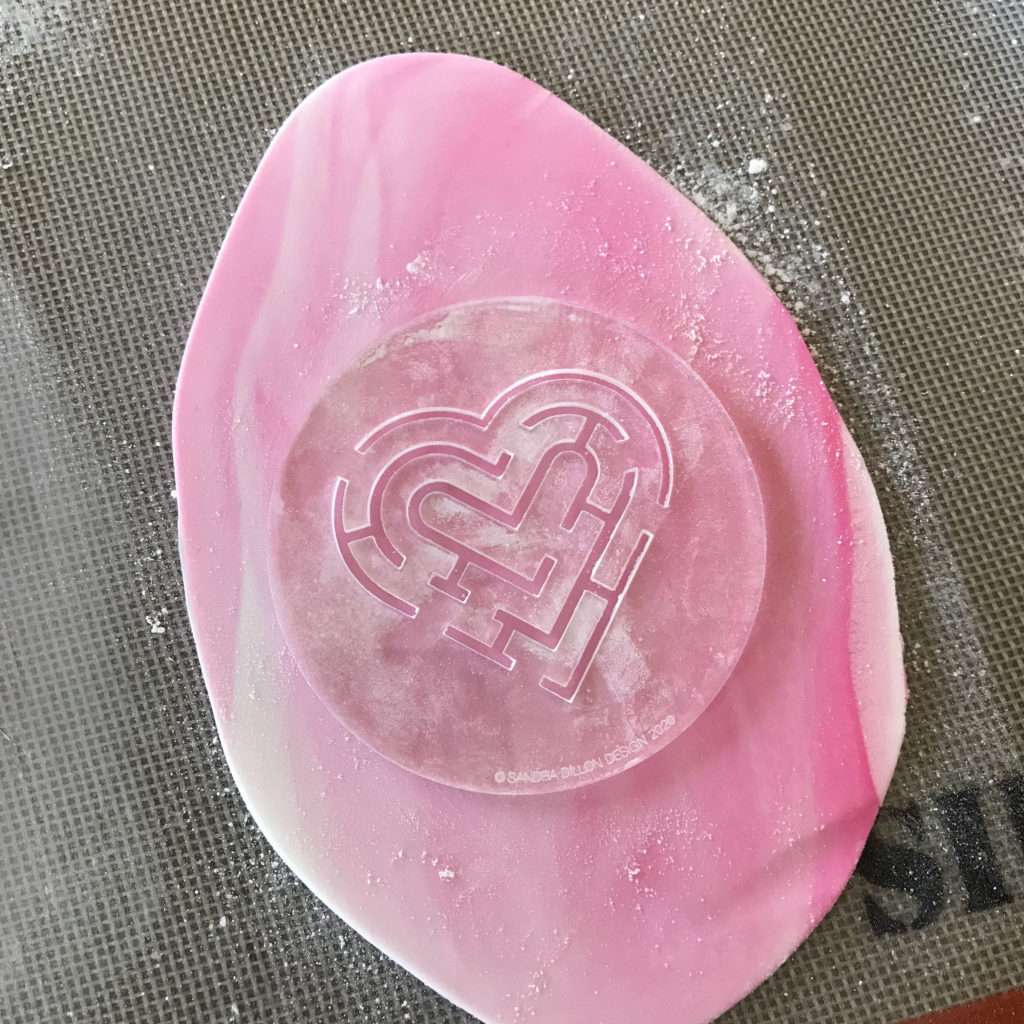
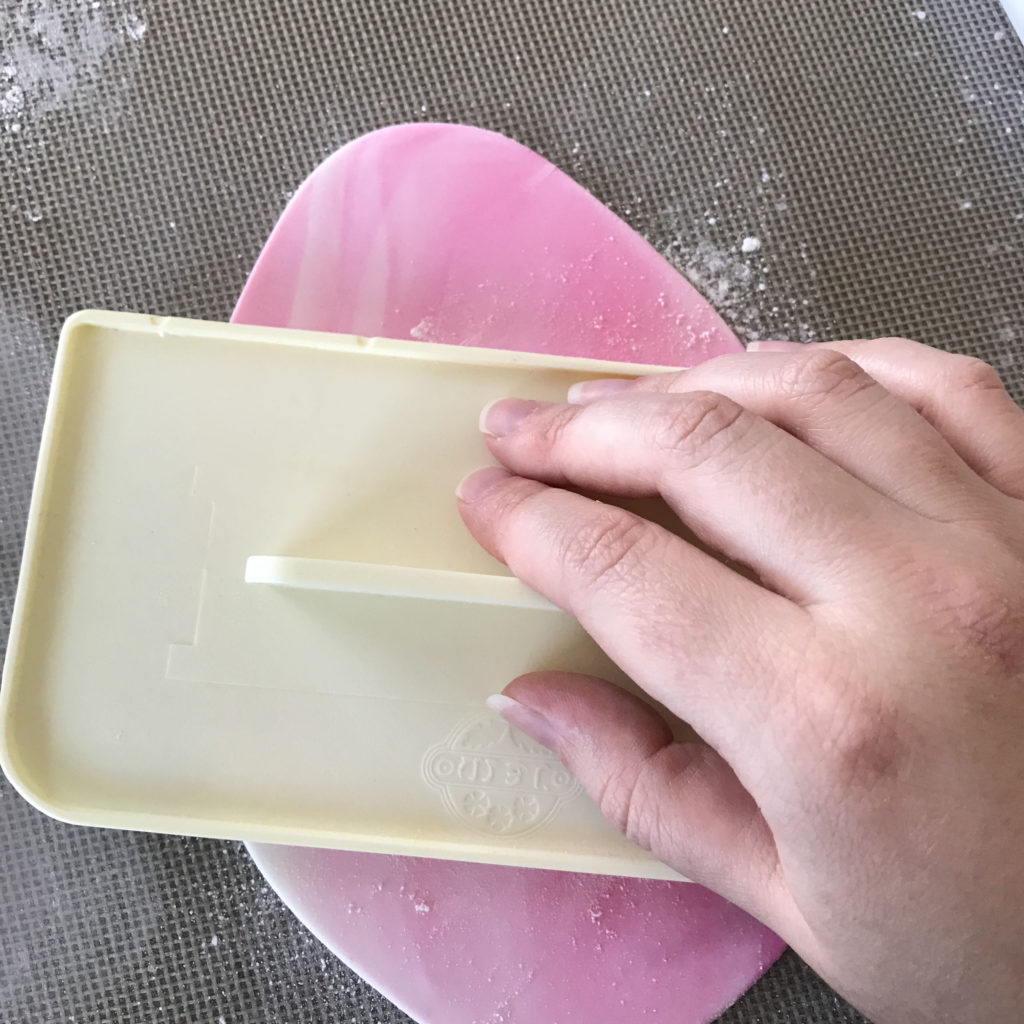
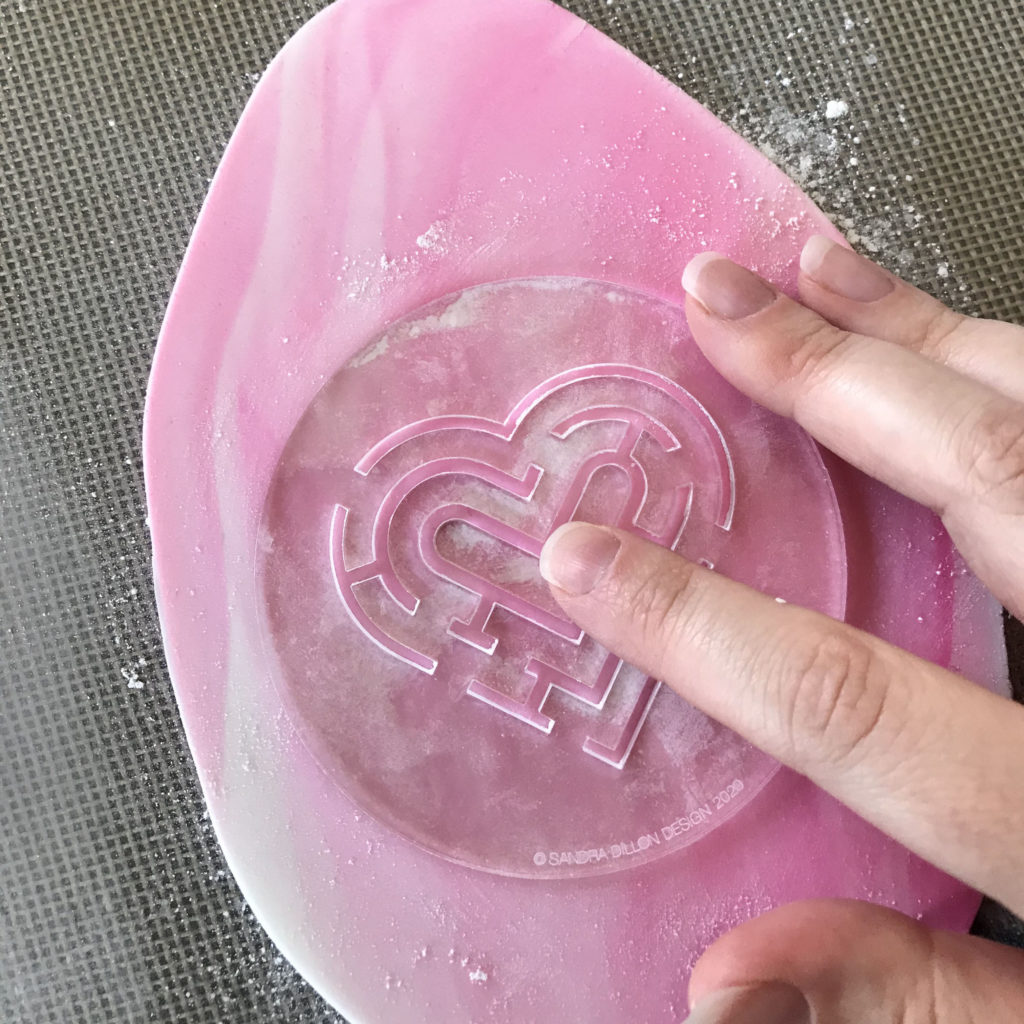
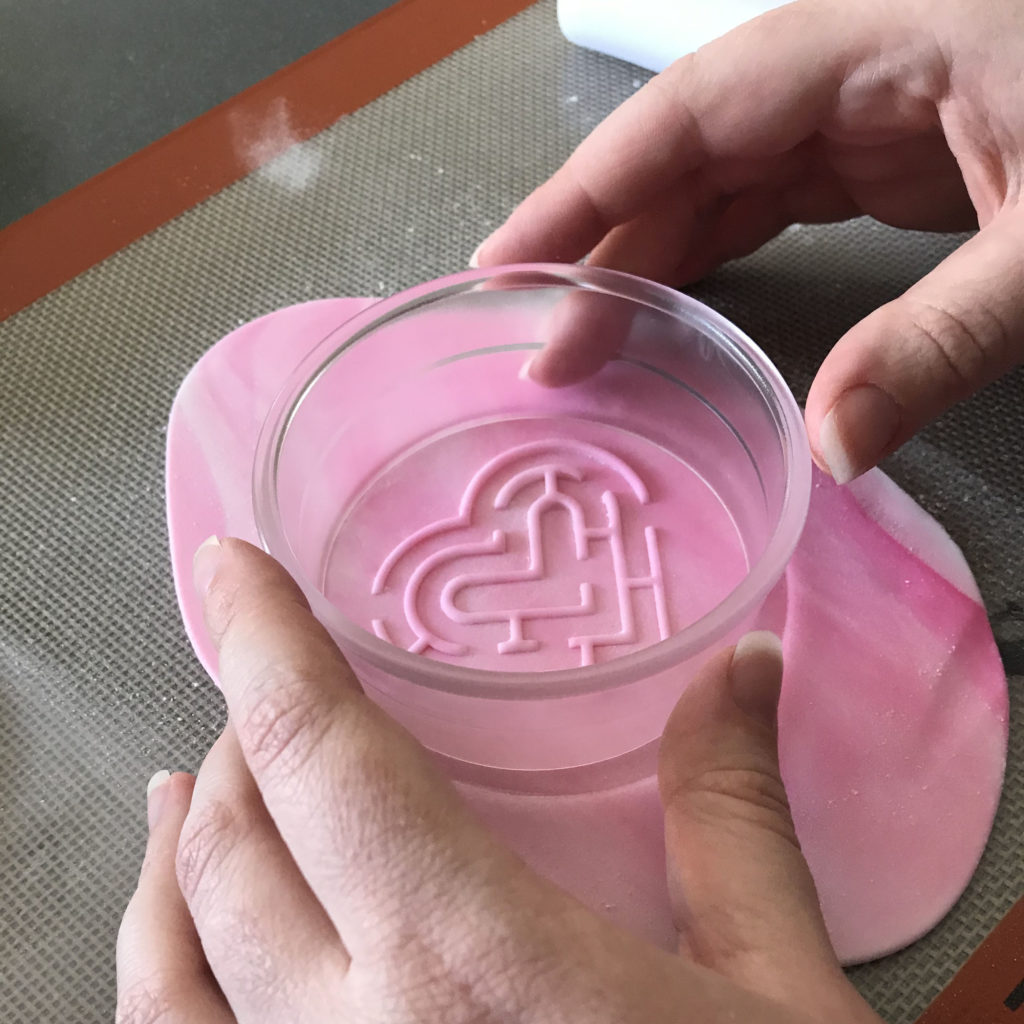
Step 3
Place the embosser on the fondant and press, press, press.
We preferred applying initial pressure with a fondant smoother. Without moving the fondant embosser, we then inspected what needed a little more oomph and pressed on the targeted areas using finger tips or any other suitable tool.

Step 4
Dust any excess powder off the acrylic surface including the cut out bits, before removing the embosser.
This means you will reduce the risk of damaging the nice clean raised edges you’re after.
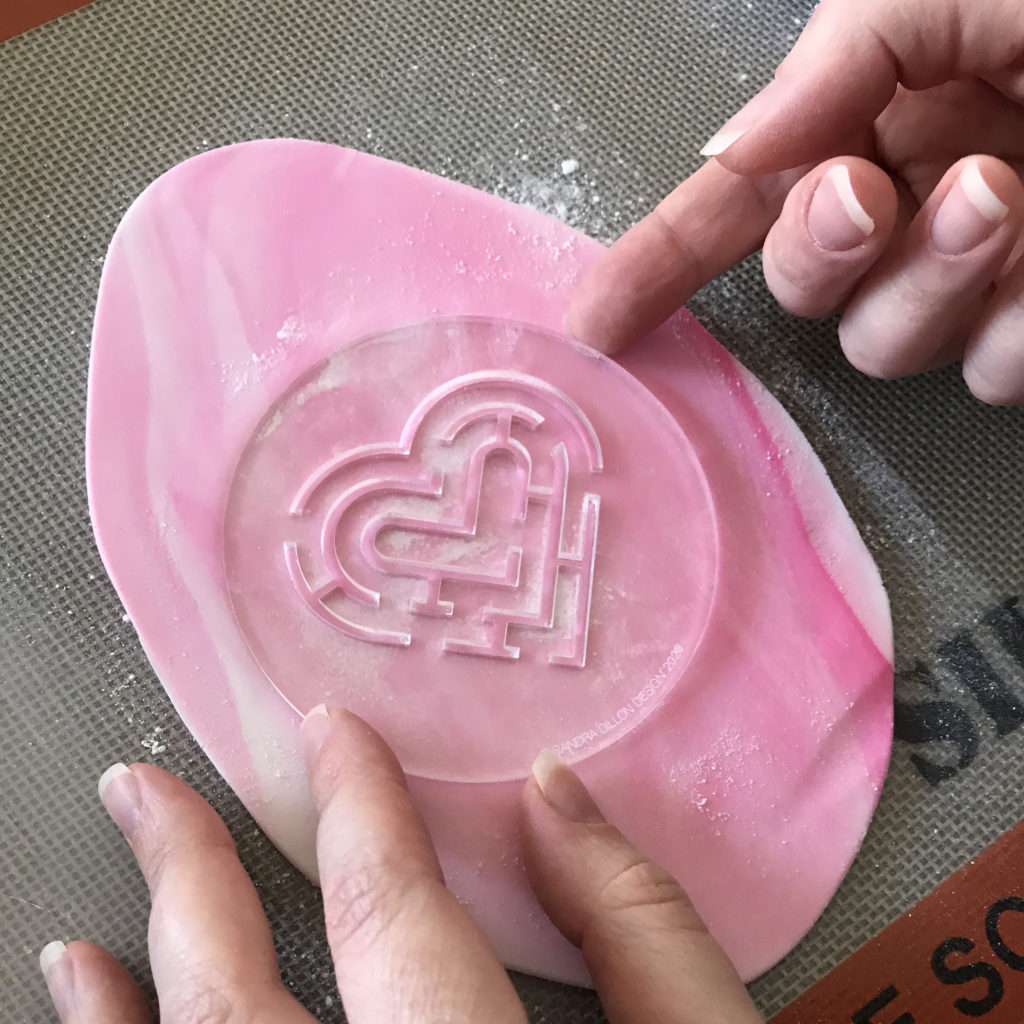
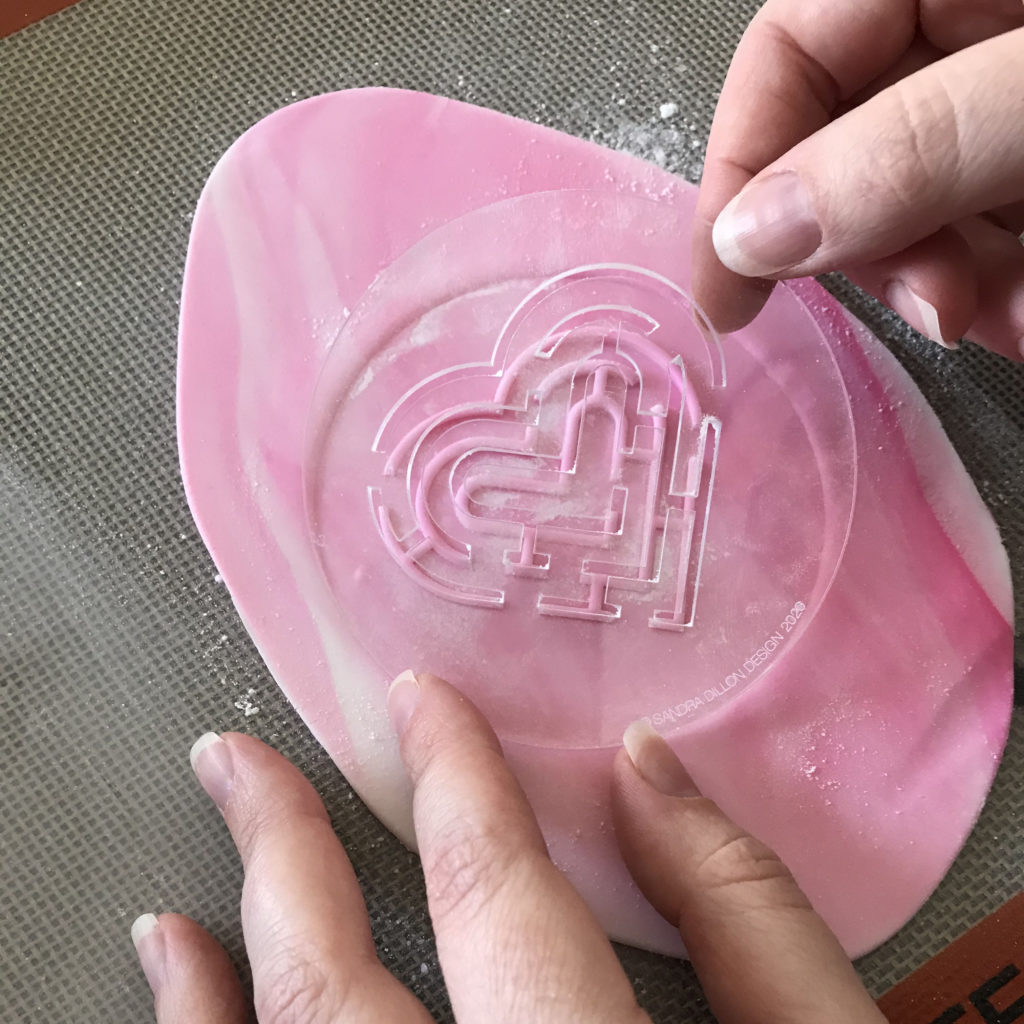
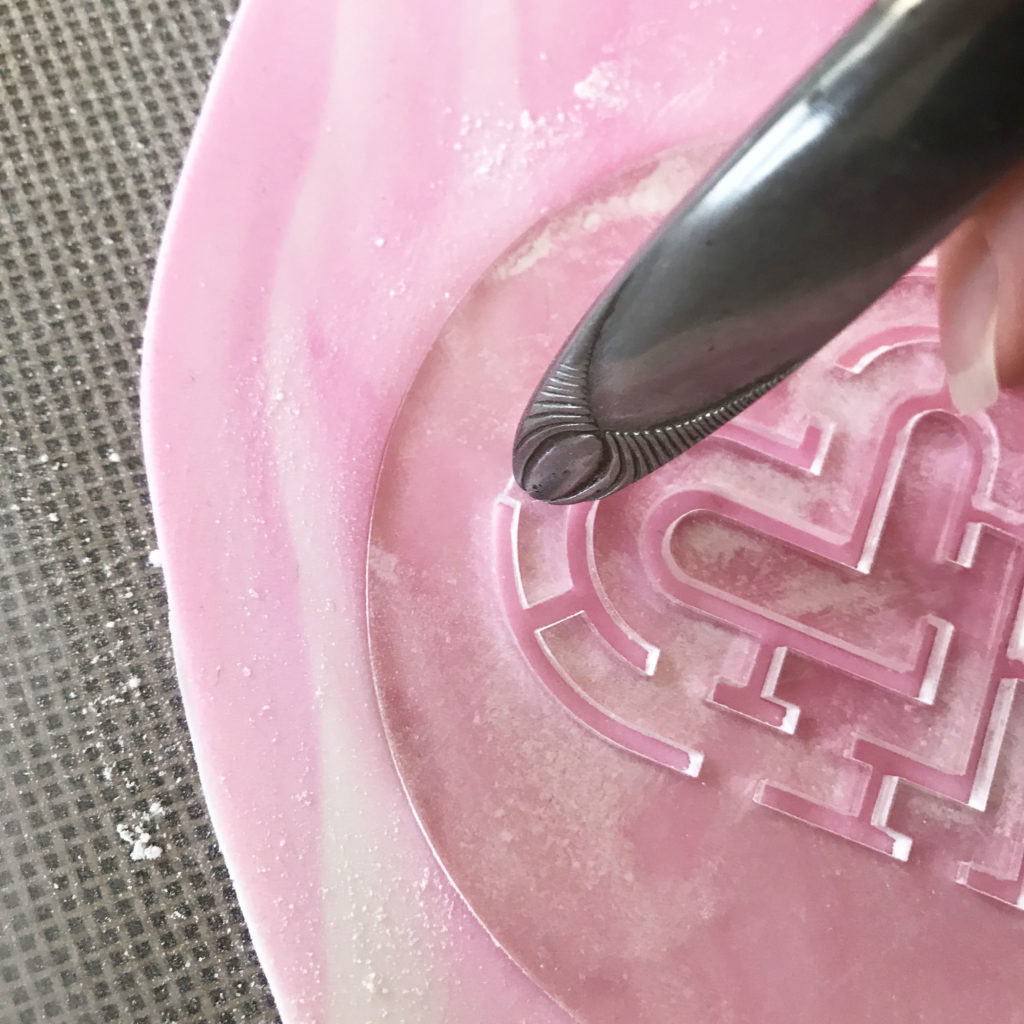
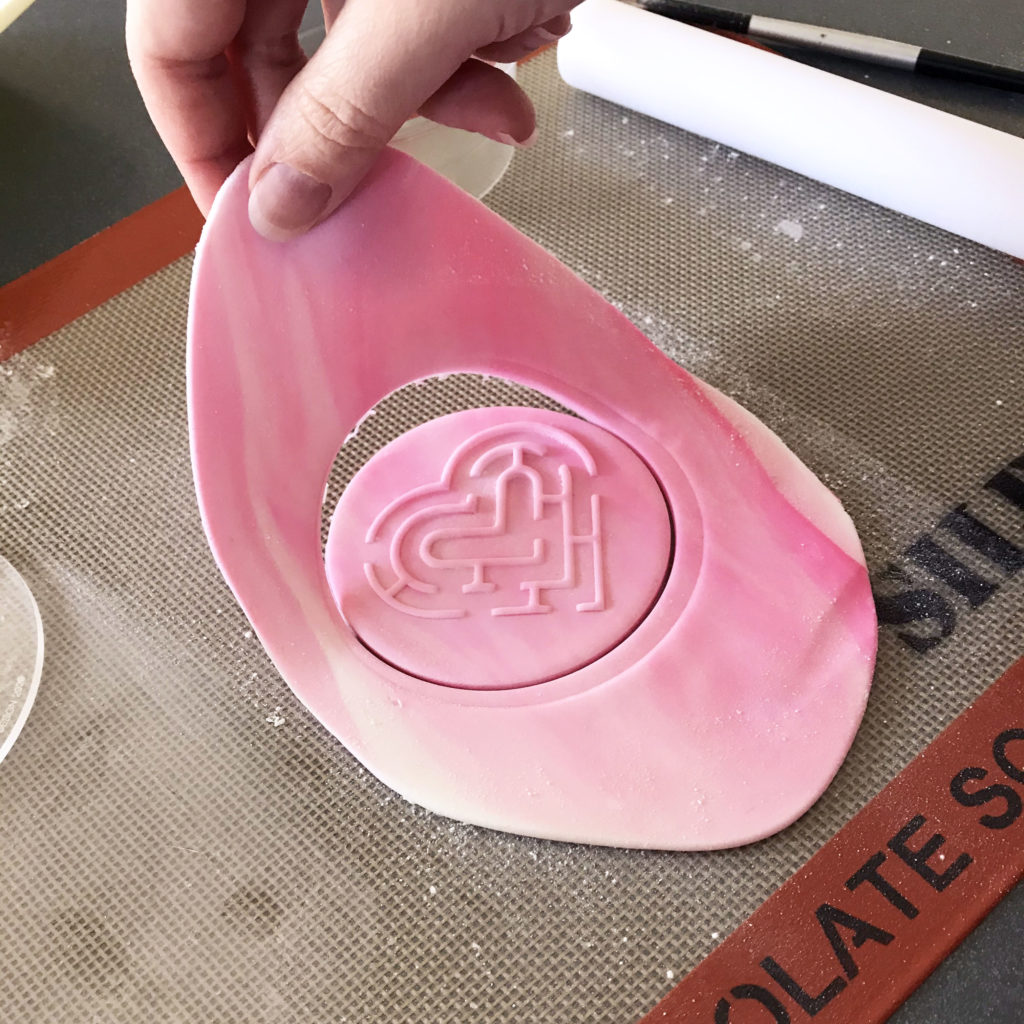
Step 5
Remove the fondant embosser carefully.
A palette knife gently inserted under the outside edge is helpful. If the centre is giving you a bit of trouble, use your finger tip to apply gentle pressure to help release the fondant.
Step 6
Centre your cookie cutter above the maze and press a nice clean round of fondant.
We let the icing firm up a bit before placing on the baked cookie.
Tips for success when making your maze cookie
- For our maze embossers, we recommend you do NOT emboss the icing when it is ON the cookie – you run the risk of breaking your beautiful biscuit.
- Don’t stretch the fondant when lifting onto your cookie. The maze design can warp and distort the game shape.
- Use cachous that are no bigger than 4mm in diameter.
- Very soft sticky fondant is a bit of a pain for this exercise. If you’re struggling knead in a little icing sugar.
- Embossing depth matters. The acrylic disk is 3mm thick so you can apply enough pressure to force the fondant maze ridges to this height but we found this made releasing the embosser a tad difficult. Mind you those nice high ridges might be worth the effort – it’s your call.
We found a depth that wasn’t too shallow nor too deep was just right. After all you want your cachous to stay on track but you don’t need the maze 3mm high either. Fun awaits regardless!!
On that note, we hope you have as much fun making and giving these cookies as we did designing them. One thing is for sure – your efforts will be rewarded with squeals of excitement from everyone feverishly trying to drive their little shiny ball to victory!
ALSO AVAILABLE – Egg Maze Fondant Embosser (also in a set) and Circle Maze Fondant Embosser